

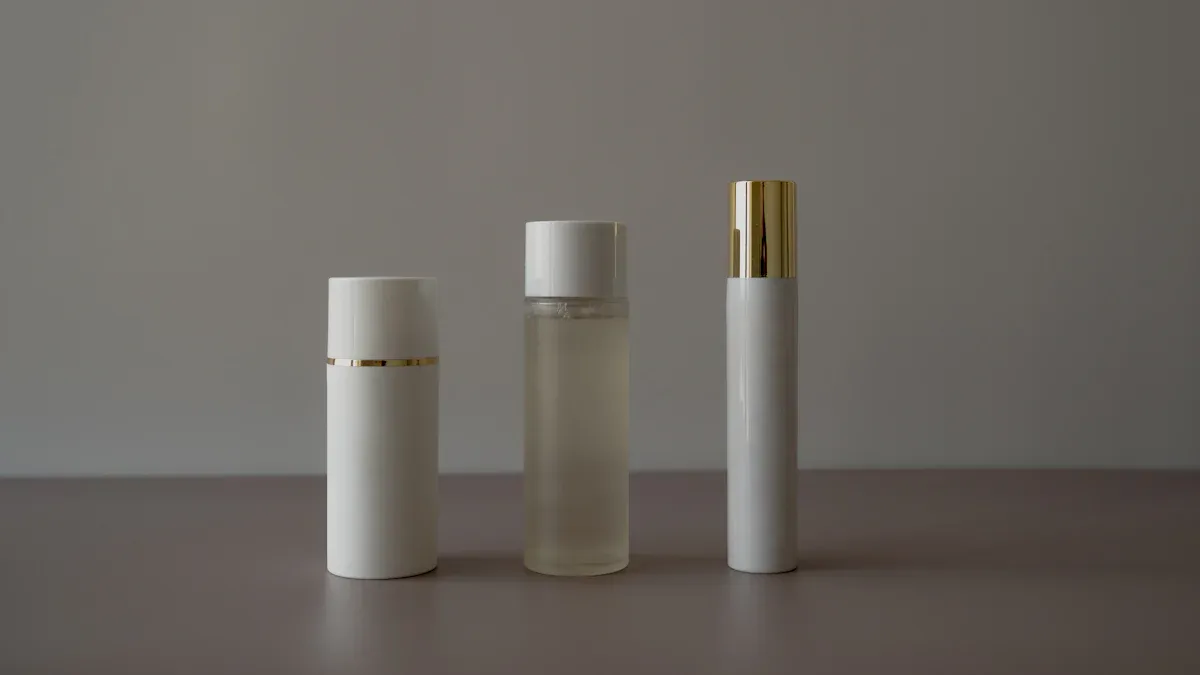
You can fill airless pump bottles with ease when you follow a few simple steps. Clean bottles work best, so always wash and dry them before use. Choose the right tools to avoid a mess. Watch out for air pockets—they can stop the pump from working right and waste your product.
Key Takeaways
- Always clean and dry your airless pump bottle before filling. This prevents contamination and keeps your product fresh.
- Use tools like a mini spatula or Ziploc bag to fill the bottle without making a mess. This ensures a smooth filling process.
- Prime the pump after filling to remove air and get the product flowing. This step is crucial for the pump to work effectively.
Prepare Bottle
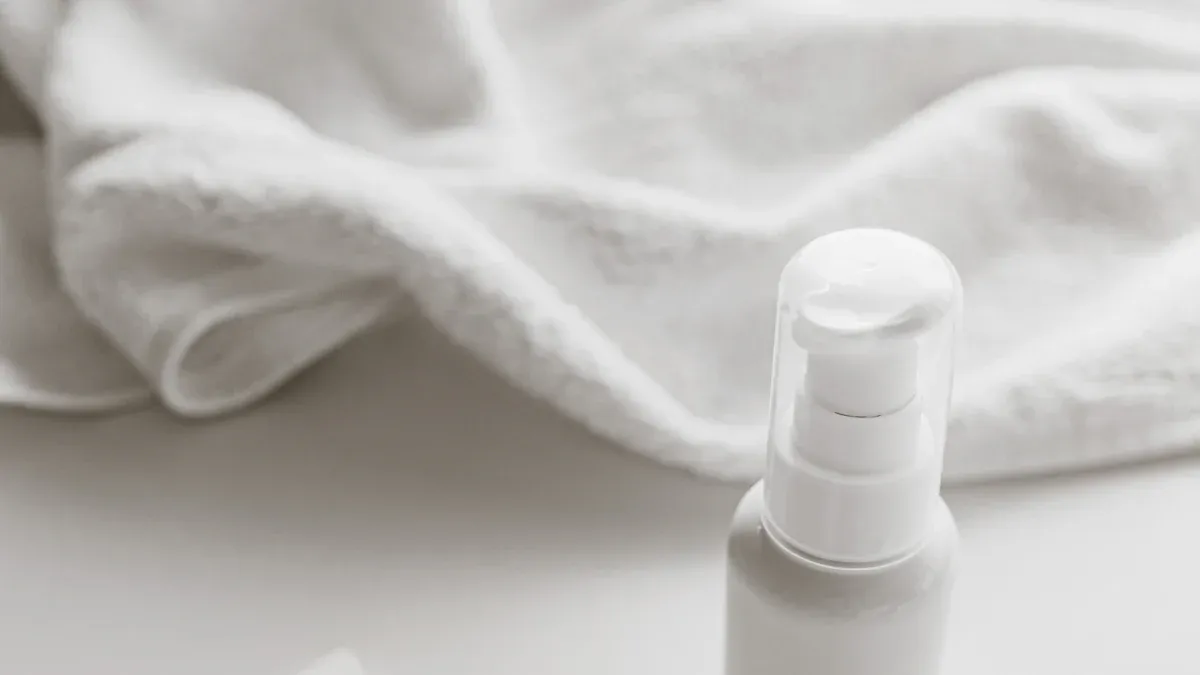
Remove Lid and Pump
Start by taking off the lid. Some bottles twist off, while others pop off with a gentle pull. Check your bottle type before you begin. Use steady, gentle pressure to remove the pump. If you force it, you might break the pump or damage the bottle. Always set the parts on a clean surface.
Tip: Handle the pump carefully. If you damage the pump mechanism, the bottle may not work right when you try to fill airless pump bottles again.
Clean and Sterilize
You want your bottle as clean as possible before you add new product. First, empty any leftover product. Rinse the bottle with warm water and a little mild dish soap. For thick or sticky products, use a bottle brush to scrub the inside. After cleaning, you can sterilize the parts in a few ways:
- Wash with warm water and mild dishwashing soap.
- Use a bottle brush for stubborn residue.
- Try steam sterilization or a sterilizer solution for extra cleanliness.
Or, you can use this method:
- Mix equal parts distilled white vinegar and water.
- Soak all parts for about 10 minutes.
- Rinse with warm water and let everything air-dry on a clean paper towel.
Make sure every part is dry before you move on. This helps prevent mold and keeps your product fresh.
Reset Internal Disc
The internal disc is what makes airless pump bottles special. It keeps air out and helps you use every last drop. To reset it:
- Open the bottle and use a clean stick to gently push the disc back down to the bottom.
- Refill the bottle as needed.
- After reassembly, pump several times until the product starts to flow.
This design helps you fill airless pump bottles easily and keeps your product safe from air and germs. If you notice the seal ring is bent or the pump does not work, you may need to replace the pump assembly.
Fill Airless Pump
Add Product with Tools
Now that your bottle is clean and ready, it’s time to fill airless pump bottles with your favorite product. You want to make this step as mess-free as possible. Use a mini spatula, small spoon, or even a popsicle stick to scoop creams or gels into the bottle. For liquids, you can pour them in slowly or use a Ziploc bag as a funnel—just snip off a corner and squeeze the product in. This method works well for thicker creams, too. Airless pump bottles handle a range of products, from lightweight serums to thick creams and gels. They work especially well for high-viscosity formulas that don’t flow easily with regular pumps.
Tip: If your product is very thick, add it in small amounts and press it down gently with your tool. This helps you fill airless pump bottles evenly.
Avoid Air Bubbles
Air bubbles can cause problems when you fill airless pump bottles. They might stop the pump from working or waste your product. Here’s how you can avoid them:
- Gently tap the bottle on a hard surface after each scoop or pour. This helps the product settle and pushes out trapped air.
- Make sure your product is smooth and free of bubbles before you start filling.
- Add the product slowly and avoid shaking the bottle, which can create more bubbles.
If you see bubbles, use your spatula or stick to smooth out the top layer. Taking your time here means your pump will work better later.
Reassemble and Seal
Once you finish filling, it’s time to put your bottle back together. Follow these steps to seal it tight and prevent leaks:
- Place the internal disc or piston back if you removed it earlier.
- Align the pump head with the bottle opening.
- Press the pump down gently but firmly.
- Twist the pump clockwise until it feels snug. If your bottle has a snap-on cap, press down until you hear a click.
- Wipe away any extra product from the rim before sealing.
| Cause | Explanation |
|---|---|
| Capping Torque | If you don’t twist the pump on tightly enough, the bottle may leak. |
| Bottle Mouth Height | If the bottle mouth is too short, it might not seal well with the pump. |
Note: Always check for a secure fit. A tight seal keeps your product fresh and prevents spills.
Prime Pump
Before you use your bottle, you need to prime the pump. This step gets the product moving and removes any air left inside.
- Tap the bottom of the bottle on a hard surface three or four times. This helps loosen the internal plate.
- Place your finger over the nozzle and press the pump several times. It may take a few pumps for the product to come out, especially if it’s thick.
- If nothing happens, turn the bottle upside down and tap it again. You can also use a straightened paper clip in the small hole at the bottom to push up the plate.
- Keep pressing the pump until you see product. Sometimes, you need to pump five to ten times to get things started.
Tip: Be patient. Some products take longer to reach the top, but once primed, your airless pump will work smoothly.
Troubleshooting Tips
Sometimes, even if you fill airless pump bottles carefully, you might run into issues. Here’s what you can do if your pump isn’t working:
- Press the pump several times to build up pressure and remove air.
- Hold the bottle at different angles or upside down to help the product flow.
- Check the nozzle for clogs. Clean it with a cotton swab if needed.
- Use a paper clip to gently push up the internal piston through the small hole at the bottom.
- If the product is thick or dried, soak the bottle in warm water to soften it.
- Make sure the pump is tightly sealed. If it’s loose, twist it again until snug.
If you follow these steps, you’ll get the most out of your airless pump bottle. Remember, these bottles work best with creams, gels, and serums. They keep your product fresh and make sure you use every last drop. After you fill airless pump bottles, store them away from direct sunlight and heat to keep your product in top shape.
You can fill airless pump bottles with confidence by following these steps:
- Clean and dry your bottle.
- Use the right tools to add your product.
- Reassemble and prime the pump.
Cleaning and priming keep your product fresh and help the pump work well.
- Many users say these tips help prevent waste and keep products safe.
FAQ
How do I know if my airless pump bottle is full?
You can stop filling when the product reaches just below the rim. Leave a little space so you can close the bottle without spills.
Can I reuse airless pump bottles for different products?
Yes, you can reuse them. Just make sure you clean and dry the bottle well before adding a new product.
What should I do if the pump stops working?
Try priming the pump again. Tap the bottle, press the pump a few times, or check for clogs. If it still does not work, clean the nozzle.