

Heat transfer printing lets you apply pre-printed designs onto cosmetic bottles using heat and pressure. You will see a printed film and a silicone die work together to press the artwork onto the surface. Precise positioning helps you achieve sharp and vibrant decoration. Many cosmetic brands choose this method because it:
- Handles complex bottle shapes with ease
- Enhances durability of printed graphics
- Supports premium finishes for a high-quality look
- Facilitates strong brand recognition on different surfaces
Key Takeaways
- Heat transfer printing uses heat and pressure to apply vibrant designs to cosmetic bottles, ensuring durability and sharp graphics.
- This method works well on various bottle shapes and materials, making it versatile for different cosmetic products.
- Proper surface preparation and precise film positioning are crucial for achieving high-quality prints that last.
- Heat transfer printing offers a professional look with photorealistic graphics, enhancing brand recognition on store shelves.
- Regular maintenance and careful material selection help avoid common printing challenges, ensuring consistent results.
What is heat transfer printing?
Definition and principles
You use heat transfer printing to decorate cosmetic bottles with vibrant designs. This method relies on heat and pressure to move artwork from a special film onto the bottle surface. The scientific principle behind heat transfer printing, especially sublimation printing, involves applying heat and pressure to transfer dye from a printed film or paper to the bottle. The dye changes from solid to gas, then penetrates the bottle material and solidifies as it cools. This process creates a strong bond that resists fading and wear.
Heat transfer printing stands out because it produces crisp, vivid, and durable designs. You can achieve results that look professional and last longer than many other decoration methods.
Here is a comparison of heat transfer printing with other bottle decoration methods:
| Method | Process Description | Results Description |
|---|---|---|
| Heat Transfer Printing | Designs are printed on heat-sensitive transfer paper and applied under high heat. | Results in crisp, vivid, and durable designs ideal for promotional use. |
| Other Methods | Various methods like screen printing or labeling may not involve heat transfer. | Results can vary in quality and durability compared to heat transfer. |
Application to cosmetic bottles
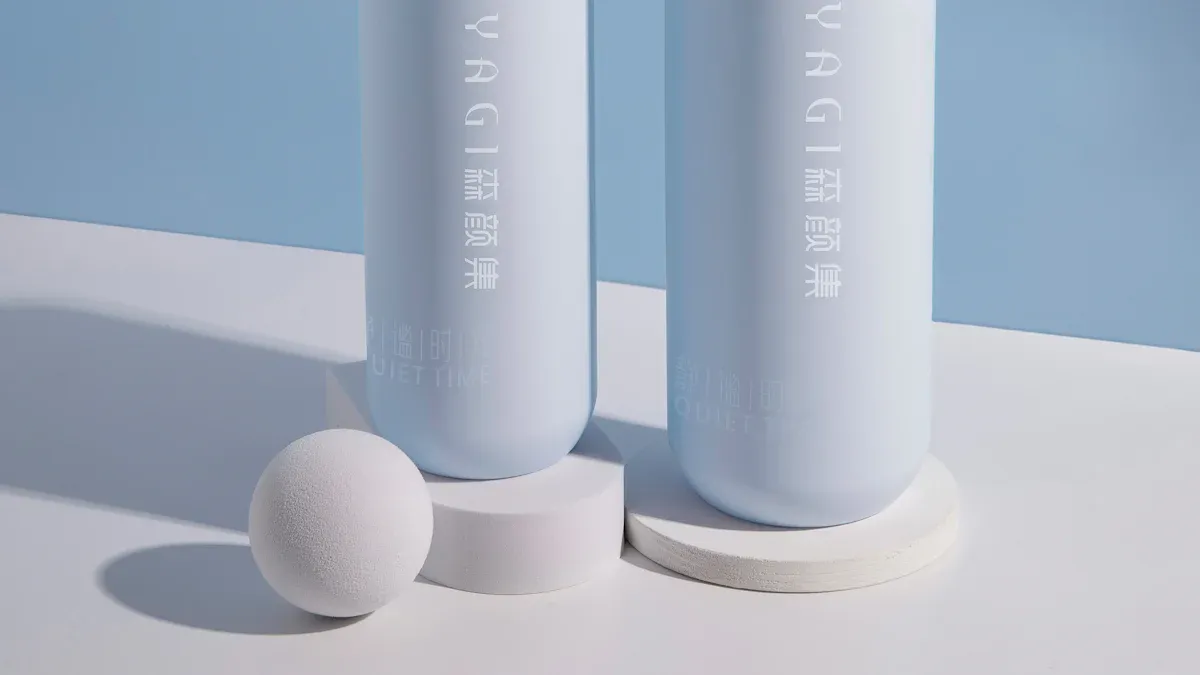
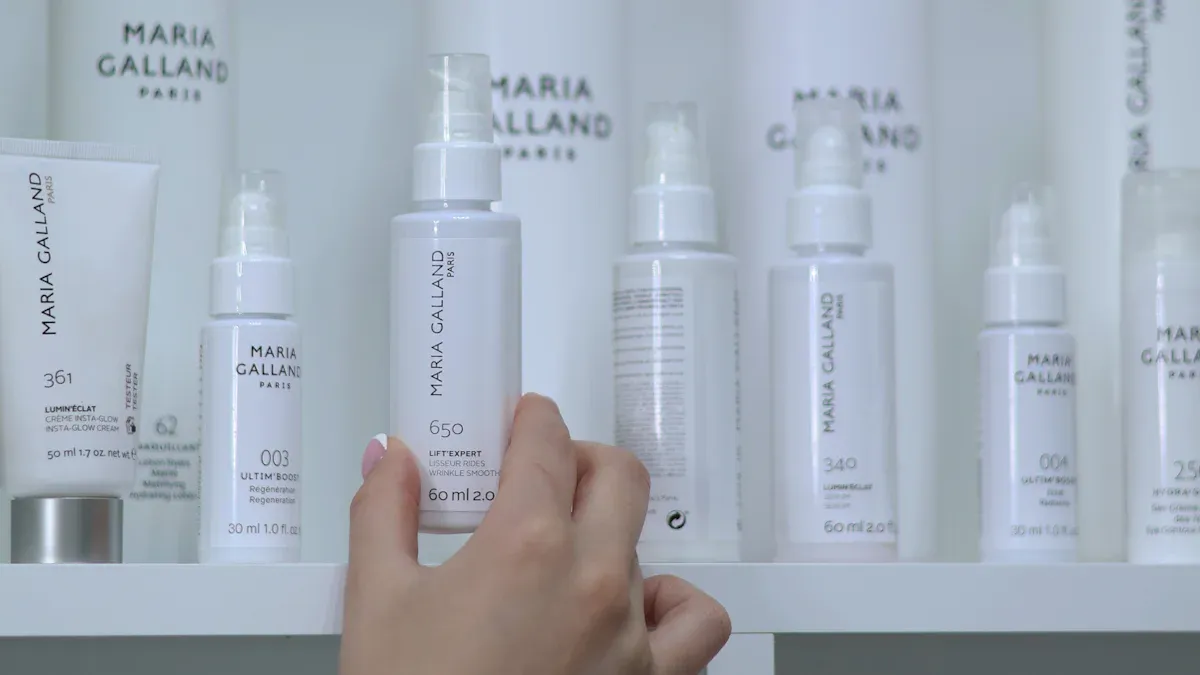
You can apply heat transfer printing to many types of cosmetic bottles. The process works well with bottles made from plastic, glass, or metal. You see this method used for shampoo, lotion, and facial care products. The shape and size of the bottle affect how you use heat transfer printing. Flat bottles, round bottles, oval bottles, and square bottles all receive decoration through this process.
| Bottle Shape | Typical Applications |
|---|---|
| Flat Bottles | Shampoo, conditioner, lotion, shower gel |
| Round Bottles | Airless pumps, liquid serums, hair style products |
| Oval Bottles | Facial skin care, baby care creams |
| Square Bottles | Various cosmetic products |
You benefit from heat transfer printing because it adapts to different bottle shapes and sizes. This flexibility helps you create unique packaging that stands out on store shelves.
Types of heat transfer printing
Film transfer method
You can use the film transfer method to decorate cosmetic bottles with high detail and vibrant colors. This method prints your design directly onto a special transfer film. You then apply the film to the bottle using heat and pressure. The film transfer method works well for complex shapes and curved surfaces. You can achieve beautiful gradients, 3D effects, and premium finishes on glass or bamboo bottles.
- High-precision decoration covers intricate patterns and curves.
- Multiple colors and complex designs, including gradients and 3D effects, are possible.
- You get an elegant, high-end look for luxury packaging.
The table below shows how the film transfer method compares to other heat transfer printing methods:
| Feature | Film Transfer (DTF) | Other Methods (e.g., Screen Printing) |
|---|---|---|
| Printing Process | Direct print on transfer film | Multiple screens for each color layer |
| Detail & Color Vibrancy | High accuracy, vibrant colors | May struggle with detail and color saturation |
| Material Compatibility | Works on many materials | Often limited to specific types |
| Feel on Surface | Soft, flexible, embedded | Can feel heavier or thicker |
| Turnaround Time | Faster, fewer setup steps | Slower, more setup required |
| Cost for Small Batches | More economical for small orders | Higher upfront costs |
Tip: Choose the film transfer method when you want eye-catching designs on bottles with unique shapes.
Digital transfer method
You can use the digital transfer method for simple and fast decoration. This method prints your design using a thermal ribbon and transfers it to the bottle with heat. Digital transfer works best for single-color designs. You need to match the ribbon to the bottle material for the best results.
The table below lists some limitations of the digital transfer method:
| Limitation | Description |
|---|---|
| Color Restrictions | Usually limited to one color |
| Substrate Compatibility | Needs specific thermal ribbons for each material |
| Marking Speed | Up to 90mm per second, which may not be fast enough for all uses |
| Ribbon Availability | Must buy ribbons from the machine manufacturer |
Note: Use digital transfer for simple logos or text, especially when you need quick results.
Transfer decoration
Transfer decoration uses a printed film to add colorful and durable designs to bottles. You apply heat and pressure to move the design from the film to the bottle. This method gives you long-lasting results and works well for complex artwork.
The table below compares transfer decoration to direct printing:
| Method | Durability | Cost Effectiveness |
|---|---|---|
| DTF (Transfer) | Vibrant colors, lasts longer than screen printing | More cost-effective for complex designs |
| Sublimation | Highly durable, wash-proof colors | Higher costs for full-color prints |
You can choose transfer decoration when you want your design to last and look bright, even after many uses.
Heat transfer printing equipment
When you set up a heat transfer printing line for cosmetic bottles, you need several key pieces of equipment. Each part plays a special role in making sure your designs look sharp and last long.
Heat transfer machine
You use a heat transfer machine to control the whole printing process. This machine lets you adjust the pressure, temperature, and speed for each job. Many machines have a touch screen and a PLC control system, which makes them easy to use. You can load and unload bottles automatically, which helps you print many bottles quickly. The machine uses sensors to track the film and make sure every print lines up perfectly.
| Feature | Description |
|---|---|
| Automatic Operation | Prints on bottles with auto-feeding and unloading. |
| Adjustable Parameters | Lets you set pressure, temperature, and speed for each job. |
| User Interface | Touch screen and PLC for easy operation. |
| High Precision | Sensors track the film for accurate prints. |
Tip: Good temperature and pressure control help your designs stick well and last longer.
Silicone die
The silicone die presses the film onto the bottle. You need a die that can handle high heat and keep its shape. Silicone works well because it is flexible and can resist temperatures up to 230°C (446°F). It does not react with chemicals, so it stays safe and clean. The die’s design also helps remove air bubbles and makes sure the print covers the bottle smoothly.
| Property | Why It Matters |
|---|---|
| Heat Resistance | Handles high temperatures without damage |
| Flexibility | Wraps around different bottle shapes |
| Chemical Inertness | Stays clean and safe for cosmetics |
Printed film and adhesive
You need a special film to carry your design. PET film is popular because it prints well and sticks to bottles. Some films have hologram effects for a shiny look. The adhesive on the film helps the design bond to the bottle during heat transfer printing. You choose the film based on the look and feel you want.
| Type of Film | Use Case |
|---|---|
| PET Film | High-quality, everyday bottle decoration |
| Hologram Heat Transfer Film | Shiny, eye-catching designs |
| Heat Transfer Label Film | Durable prints for plastic bottles |
Bottle holders
Bottle holders keep each bottle steady during printing. You pick holders that match the shape and size of your bottles. This helps the machine press the film in the right spot every time. Good holders prevent slipping and make sure your designs look neat.
Note: Using the right equipment helps you get the best results from your heat transfer printing process.
Heat transfer printing process
You need to follow several steps to decorate cosmetic bottles with heat transfer printing. Each step affects the quality and durability of your design. Let’s break down the process so you can understand how to get the best results.
Surface preparation
You start by preparing the bottle surface. Clean bottles help the design stick better. Oils, dust, or dirt can cause the print to peel or fade. You may need to wash the bottles or use a special cleaning solution. Surface preparation is the main factor that decides how well the ink transfers and how sharp the image looks.
| Step | Purpose |
|---|---|
| Cleaning | Removes oils, dust, and dirt |
| Drying | Prevents moisture from affecting adhesion |
| Inspection | Ensures no defects before printing |
Surface preparation makes a big difference. If you skip this step, your design may not last or look as bright.
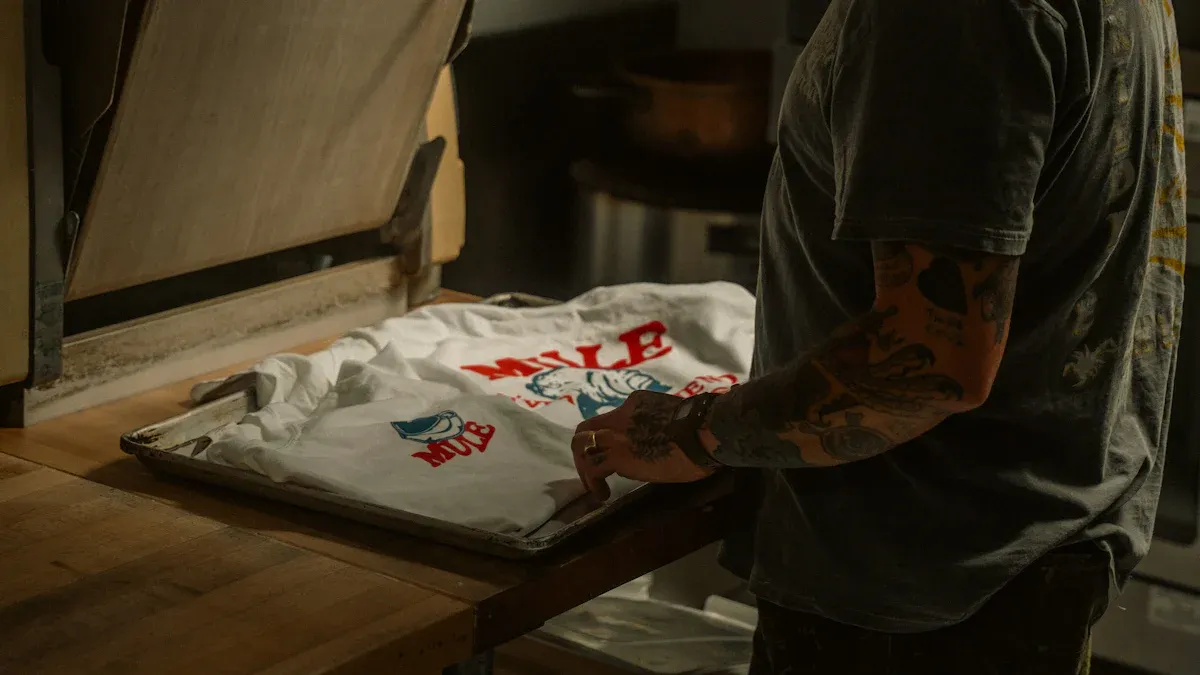
Film positioning
You place the printed film on the bottle. You must align the film carefully so the design matches the bottle shape. If you misalign the film, you can see wrinkles, uneven thickness, or loose spots. These defects make the bottle look messy and can cause problems later.
| Defect | Description |
|---|---|
| Wrinkles | Uneven tension stretches parts of the film while others slack, resulting in unwanted wrinkles that reduce the film’s quality. |
| Uneven thickness | Misaligned rolls can cause variations in the film’s thickness, leading to rejected products further down the line. |
| Bagginess | When tension isn’t evenly distributed, the film can sag, creating loose sections that affect how the product winds and performs in subsequent processes. |
- Film positioning controls graphic alignment and accuracy.
- Shifts in film positioning can cause distorted icons and misaligned symbols.
- Precise positioning ensures your design matches the bottle’s shape and meets your brand’s standards.
Tip: Use guides or sensors to help you position the film perfectly every time.
Heat and pressure application
You apply heat and pressure to transfer the design from the film to the bottle. The machine heats the silicone die and presses it onto the film. The right temperature and pressure help the ink bond to the bottle. If you use too little heat or pressure, the design may not stick. If you use too much, the bottle or design can warp.
- High-end materials like glass or metal can handle higher temperatures and produce more durable prints.
- The heat deflection temperature tells you when a bottle may start to deform under heat.
- Changes in ambient temperature during printing affect how strong and dense the print becomes.
- If you print at low temperatures, you may see defects or weak spots in the design.
Note: Adjust the heat and pressure for each bottle material to get the best results.
Carrier film removal
After you transfer the design, you need to remove the carrier film. You can use heat to soften the adhesive and peel the film away. Some people use tweezers or a dull knife to lift the edges. You can also use a chemical solvent to dissolve the adhesive and remove the film.
- Reheat the design to soften the adhesive. Hover the heat press above the print, then peel the film carefully.
- Apply a special solvent to the back of the print to dissolve the adhesive layer.
Be gentle when removing the carrier film. If you rush, you may damage the design or scratch the bottle.
Step-by-step summary
Here is a simple outline of the heat transfer printing process:
- Prepare the bottle surface by cleaning and drying.
- Position the printed film on the bottle with precise alignment.
- Apply heat and pressure to transfer the design.
- Remove the carrier film carefully.
Precise positioning and proper surface preparation help you achieve vibrant, durable designs. You must match the process to the bottle material for the best results.
Advantages & challenges
Benefits for cosmetic packaging
You gain many advantages when you use heat transfer printing for cosmetic bottles. This method helps you create packaging that stands out and lasts longer. Here are some key benefits:
- High graphic quality lets you show detailed artwork and sharp text.
- Color consistency ensures your brand colors look the same on every bottle.
- Versatility allows you to decorate complex shapes and uneven surfaces.
- Durability means your designs resist fading, scratching, and wear.
- Photorealistic graphic reproduction gives you lifelike images and gradients.
- Achieves a ‘no-label’ look, making the design part of the bottle instead of just a sticker.
- You can apply high-quality, multi-color, and photorealistic graphics in a single step.
- You simplify the decoration process compared to direct wet-ink methods.
- You get extreme durability, making your design a permanent solution.
Heat transfer labels become part of the bottle. You see a seamless appearance that feels smooth and professional. This integration helps your product look premium and attracts attention on store shelves.
Tip: Choose heat transfer printing when you want your packaging to look vibrant and last through daily use.
Common limitations
You may face some challenges when you use heat transfer printing. These issues can affect the quality and consistency of your packaging. The table below shows common problems and their descriptions:
| Challenge | Description |
|---|---|
| Material selection | Poor material choice or wrong thickness can cause printing issues. |
| Non-removable nozzle | Nozzle that cannot be removed may clog and lower print quality. |
| Print bed leveling | Uneven print bed can lead to bowing or shifting of the design. |
Other challenges include:
- High pressure on the printing plate can create uneven imprints.
- Excessive temperature during hot stamping may cause uneven images and text.
You need to check your materials and equipment before you start. Careful setup helps you avoid defects and keeps your designs looking sharp.
Note: Regular maintenance and proper material selection help you overcome these challenges and achieve the best results.
You can use heat transfer printing to decorate cosmetic bottles with bright, long-lasting designs. The process involves cleaning the bottle, placing the film, applying heat and pressure, and removing the carrier film. This method works on many materials and shapes.
When you choose heat transfer printing, check if your bottle material and design are a good match. You get strong, eye-catching packaging that helps your brand stand out.
FAQ
What types of bottles work best with heat transfer printing?
You can use heat transfer printing on plastic, glass, or metal bottles. This method works well for flat, round, oval, and square shapes. You get the best results when you choose bottles with smooth, clean surfaces.
How durable are heat transfer prints on cosmetic bottles?
You get strong, long-lasting designs. Heat transfer prints resist fading, scratching, and moisture. Your bottles keep their vibrant look even after daily use.
Can you use heat transfer printing for small batches?
Yes! You can print small batches without high setup costs. This method works well for custom designs, limited editions, or test runs.
What should you do if the print peels or fades?
- Clean the bottle surface before printing.
- Check the temperature and pressure settings.
- Use the right film and adhesive for your bottle material.
These steps help you avoid peeling or fading.